
As car enthusiasts, we understand that a flawless finish is essential for maintaining our vehicle’s value and appearance. In this comprehensive guide, I’ll walk you through the process of paint correction, a technique used to remove paint defects and restore your car’s finish to its former glory. Let’s dive into the world of paint correction and discover how it can transform your ride.
The Importance of Paint Correction
Preserving Your Car’s Value
A well-maintained paint job not only looks fantastic, but it also preserves your car’s resale value. Prospective buyers appreciate a glossy, smooth finish, and a car with paint defects may be perceived as poorly maintained.
Enhancing Overall Appearance
A paint correction process can drastically improve the overall appearance of your car. By removing unsightly swirl marks, scratches, and other paint imperfections, your vehicle’s finish will shine like new.
Protection from Environmental Damage
Environmental elements, like UV rays, acid rain, and road debris, can take a toll on your car’s paintwork. A thorough paint correction process can help protect your car’s finish from these damaging elements, ensuring your paint job lasts longer.
Identifying Paint Defects
Before diving into the paint correction process, it’s crucial to identify the specific paint defects affecting your vehicle. Common paint defects include:
Swirl Marks
Swirl marks are circular scratches that appear on your car’s finish, often caused by improper washing or drying techniques. These unsightly marks can significantly reduce the depth and gloss of your paint job.
Scratches
Scratches, whether shallow or deep, can mar your car’s finish. These imperfections may result from improper washing techniques, abrasive materials, or accidental contact with foreign objects.
Holograms
Holograms are a series of wavy, overlapping lines that appear on the paint surface. They’re typically caused by improper machine polishing techniques.
Oxidation
Oxidation occurs when the paint’s top layer is damaged by exposure to UV rays and other environmental factors. This damage results in a dull, chalky appearance.
Water Spots
Water spots form when water droplets evaporate on your car’s surface, leaving behind mineral deposits that etch into the paint. These unsightly spots can be difficult to remove if left untreated.
Necessary Tools and Materials
To achieve professional results, you’ll need the following tools and materials:
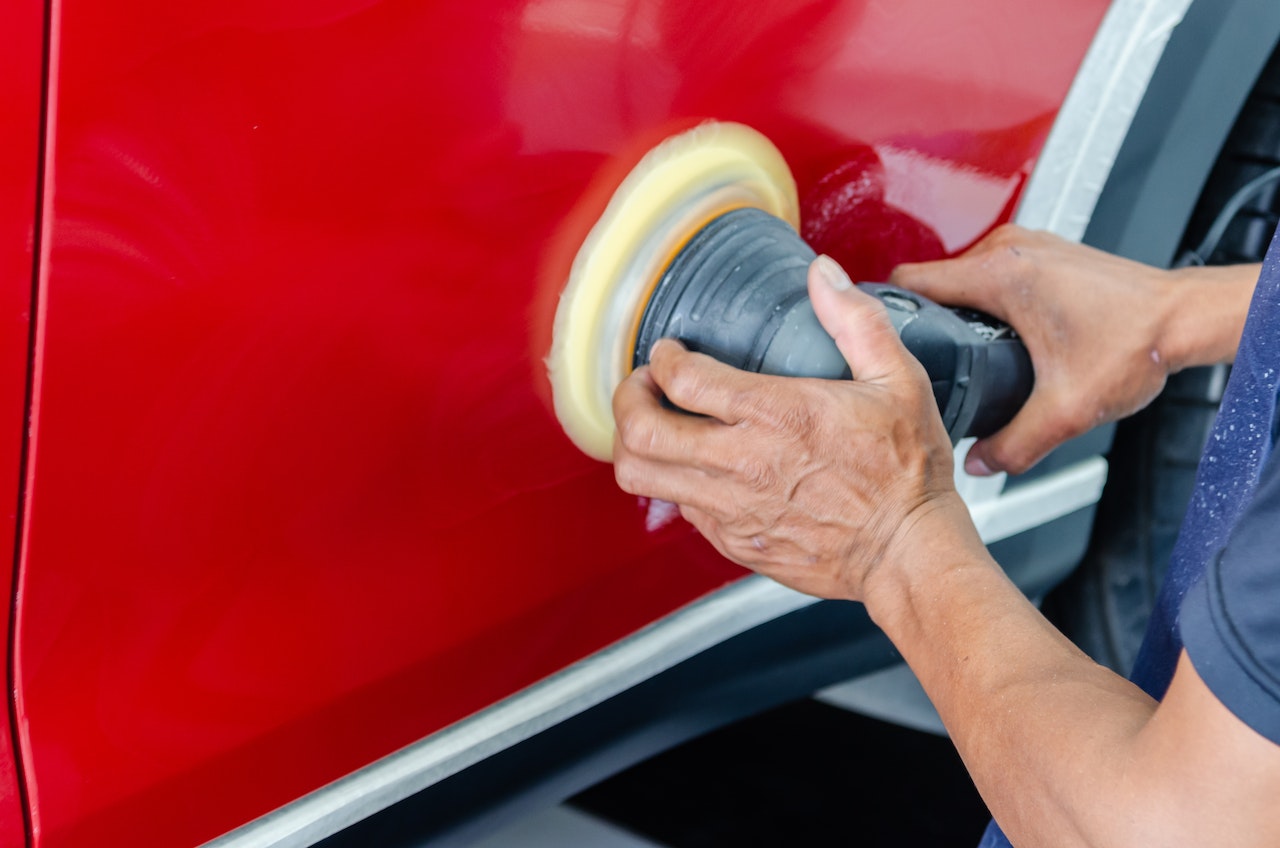
Dual-Action Polisher or Rotary Buffer
A dual-action polisher or rotary buffer is an essential tool for paint correction. These machines use a combination of rotation and oscillation to polish your car’s finish, removing defects and restoring its shine.
Microfiber Towels
Microfiber towels are perfect for removing polish residue and buffing your car’s finish. Their ultra-soft fibers won’t scratch your paint, ensuring a flawless result.
Foam or Microfiber Pads
Foam and microfiber pads are designed to work with your polisher to remove paint defects. Different pads are available for cutting, polishing, and finishing, each with varying levels of aggressiveness.
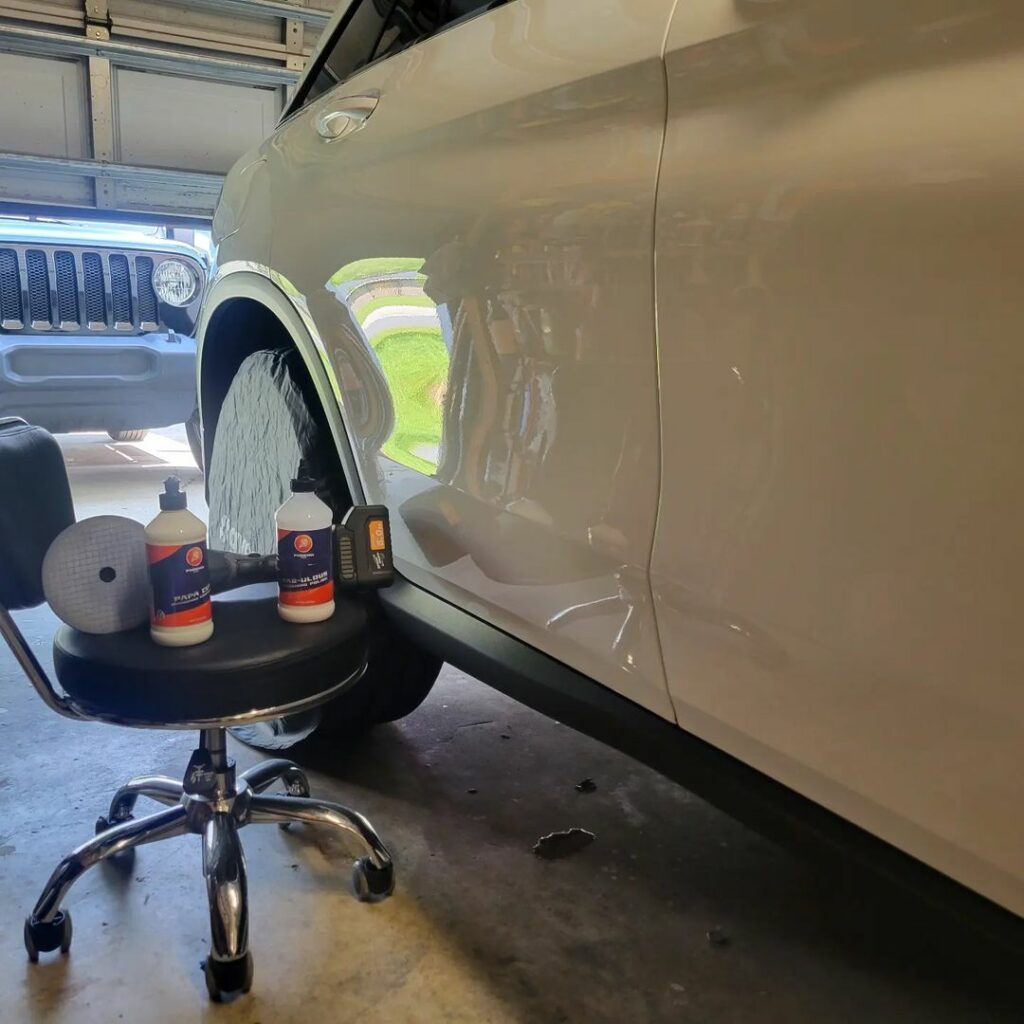
Paint Correction Compounds and Polishes
Paint correction compounds and polishes are formulated to remove paint defects and restore your car’s finish. You’ll need to choose the appropriate compound or polish based on the severity of the defects you’re addressing.
Car Wash Soap, Clay Bar, and Lubricant
Before starting the paint correction process, you’ll need to wash and decontaminate your car’s surface using car wash soap, a clay bar, and lubricant. These materials will ensure your car’s paint is clean and free of contaminants, providing a smooth surface for the correction process.
Step-by-Step Paint Correction Process
Now that we’ve covered the necessary tools and materials let’s dive into the paint correction process.
Preparing Your Vehicle
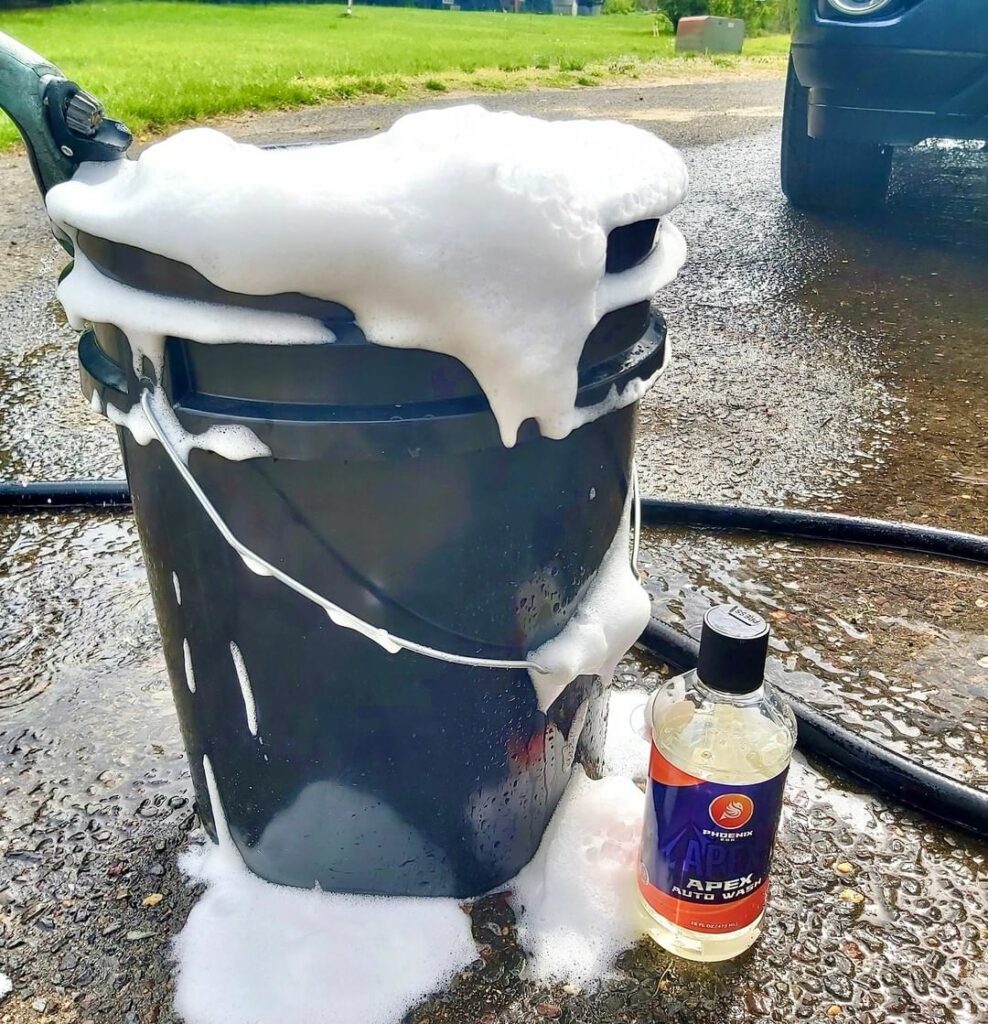
Thoroughly Washing the Car
Start by washing your car with a high-quality car wash soap to remove dirt, dust, and grime. Be sure to use a clean microfiber mitt and the two-bucket method to minimize the risk of scratching your paint during the wash process.
Claying to Remove Contaminants
After washing your car, use a clay bar and lubricant to remove any remaining surface contaminants. This step is crucial, as it ensures a clean, smooth surface for the paint correction process.
Choosing the Correct Pad and Compound
Understanding Pad Types and Uses
Foam and microfiber pads come in various levels of aggressiveness, from cutting to finishing. Cutting pads are more aggressive and are designed to remove deeper paint defects, while finishing pads are less aggressive and intended for polishing and refining the paint’s surface.
Selecting the Appropriate Compound or Polish
Choosing the right compound or polish depends on the severity of the paint defects you’re addressing. Heavier defects will require a more aggressive compound, while lighter defects can be remedied with a finer polish.
Proper Technique for Using a Dual-Action Polisher or Rotary Buffer
Safety Precautions
Before using your polisher, ensure you’re wearing appropriate safety gear, like gloves and eye protection. Additionally, keep the power cord over your shoulder to prevent it from coming into contact with the polisher or your vehicle.
Hand Positioning and Pressure
Hold the polisher firmly with both hands, applying even pressure to the pad. The amount of pressure needed will vary depending on the pad and compound you’re using. Start with light pressure and adjust as needed.
Work Area Size and Duration
Work in small sections, typically 2×2 feet, to maintain control and ensure even coverage. Spend about 30-60 seconds per section, making overlapping passes to achieve the desired results.
Wiping Away Residue and Inspecting Results
After polishing a section, use a clean microfiber towel to gently wipe away any residue. Inspect the area to ensure the desired level of correction has been achieved. If necessary, repeat the process until you’re satisfied with the results.
Final Steps and Paint Protection

Applying a Sealant or Wax
Once you’ve completed the paint correction process, protect your car’s finish with a high-quality sealant or wax. This step helps lock in your hard work and provides a barrier against future damage.
Maintaining Your Car’s Finish
To keep your car looking its best, maintain a regular washing routine and avoid using harsh chemicals or abrasive materials. Additionally, consider using a paint protection film or ceramic coating for added protection.
Conclusion
Paint correction can be an incredibly rewarding process, restoring your car’s finish to a showroom shine. By following this guide and using the right tools and techniques, you can achieve professional results and keep your car looking its best.
At Phoenix E.O.D., we’re a family of car lovers dedicated to creating top-notch vehicle detailing products that keep up with the ever-changing automotive world. We believe in the power of growth, connection, and learning from one another. Our mission is to work hand-in-hand with our customers, industry experts, and fellow enthusiasts to constantly evolve and provide real-world solutions that make your cars shine. Give our Phoenix E.O.D products a try, and if you have any questions or need expert advice, don’t hesitate to contact us at Phoenix E.O.D. Our team of car care professionals is ready to help you achieve the perfect finish.
Frequently Asked Questions
Q: How often should I perform paint correction on my car?
A: The frequency of paint correction depends on the condition of your car’s paint and your personal preferences. Generally, paint correction should only be performed when necessary, as it removes a thin layer of clear coat each time. For most car enthusiasts, paint correction every 2-3 years is sufficient to maintain a high-quality finish.
Q: Can I perform paint correction without a dual-action polisher or rotary buffer?
A: While it is possible to perform paint correction by hand, using a dual-action polisher or rotary buffer will yield significantly better results. These machines provide more consistent pressure and speed, making it easier to achieve a smooth, even finish.
Q: What’s the difference between a compound and a polish?
A: Compounds and polishes are both abrasive products used to remove paint defects. The primary difference is their level of aggressiveness. Compounds are more aggressive, designed to remove deeper defects such as severe swirl marks and scratches. Polishes are less aggressive, used to refine the paint surface after compounding and remove lighter defects.
Q: How do I know if I’ve removed enough clear coat during the paint correction process?
A: It’s essential to strike a balance between removing enough clear coat to eliminate paint defects and preserving as much clear coat as possible for future paint corrections. Using a paint thickness gauge can help you monitor the clear coat’s thickness throughout the process. If you’re unsure, it’s best to consult with a professional.
Q: Can I apply a ceramic coating after completing the paint correction process?
A: Yes, applying a ceramic coating after paint correction is an excellent way to protect your car’s finish and lock in your hard work. Ceramic coatings provide a long-lasting, hydrophobic barrier that can help protect your car’s paint from environmental damage, making them an ideal choice for car enthusiasts.